Renovating an existing bathroom to meet ADA compliance can be challenging, especially in older homes or buildings. However, with careful planning and the right strategies, it’s possible to create an accessible bathroom that meets the needs of everyone. Here are some tips to help you navigate the process:
1. Assessing the Current Bathroom
Before starting any renovation work, it’s important to assess the existing bathroom thoroughly. Take detailed measurements of the space, note the locations of plumbing fixtures, ada compliant bathroom doors, and windows, and identify any potential structural limitations. This assessment will help you determine what modifications are necessary and feasible.
2. Addressing Structural Limitations
Structural limitations, such as narrow doorways, low ceilings, or limited space, can pose significant challenges when renovating for ADA compliance. In some cases, you may need to consider relocating or reconfiguring fixtures or even exploring options for expanding the bathroom’s footprint.
If structural changes are not possible or feasible, you may need to get creative with your design solutions. For example, you could consider using pocket doors or bi-fold doors to maximize space or installing a curbless shower with a sloped floor to eliminate the need for a threshold. You can get in touch with an expert bathroom accessories distributor for more information and guidance.
3. Temporary Solutions during Renovation
If you’re planning to renovate the primary bathroom in your residential project, it’s essential to have a temporary accessible solution in place during the construction process. This could involve setting up a portable shower stall or temporary grab bars in another bathroom or creating a makeshift accessible area in another part of the home.
4. Budgeting for Upgrades
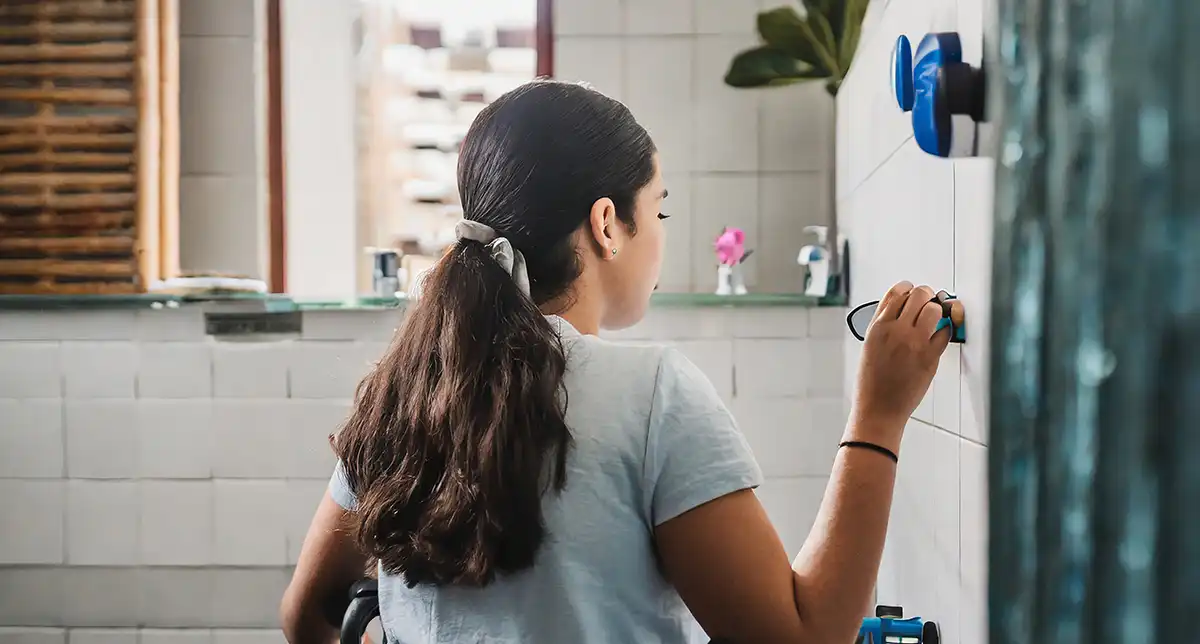
Be prepared for certain upgrades, such as ADA-compliant faucets and grab bars, to cost a bit more than off-the-shelf options. However, these investments often pay off in the long run by increasing your property’s value and making it more attractive to future buyers or tenants. Plus, choosing modern, well-designed accessibility products can help maintain a residential, non-institutional feel.
5. Maximizing Space
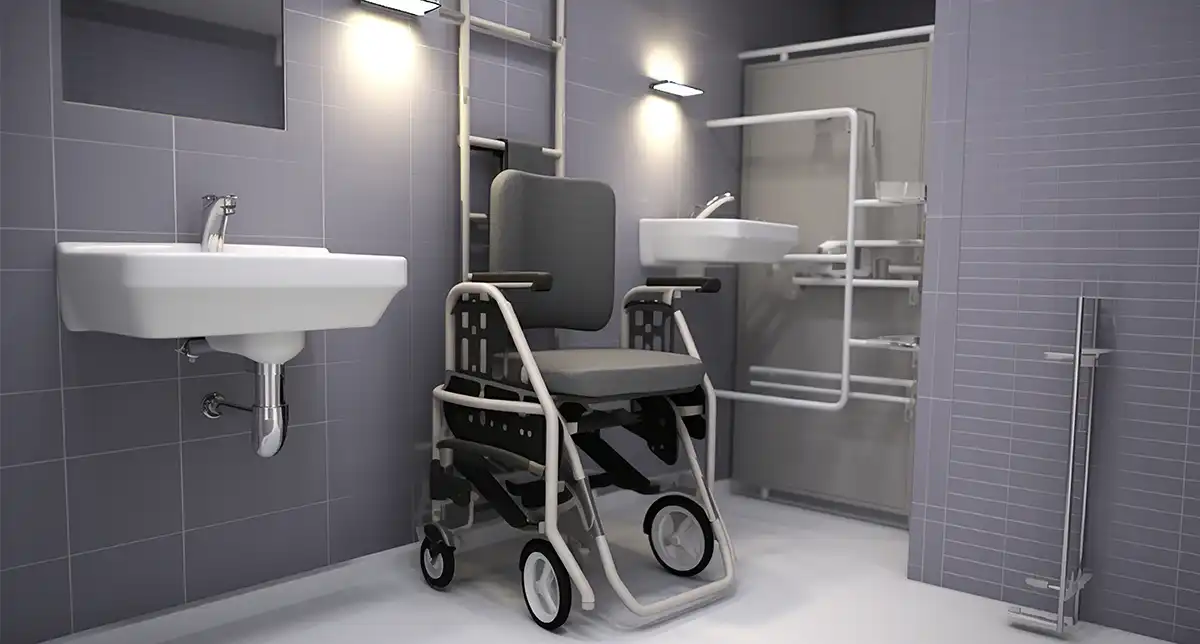
In many existing bathrooms, space can be limited, making it challenging to meet ADA clearance requirements. To maximize bathroom space, consider relocating fixtures or using compact, wall-mounted options. For example, a corner sink or a wall-mounted toilet (which can be sourced from a toilet accessories supplier) can free up valuable floor space.
6. Prioritizing Safety
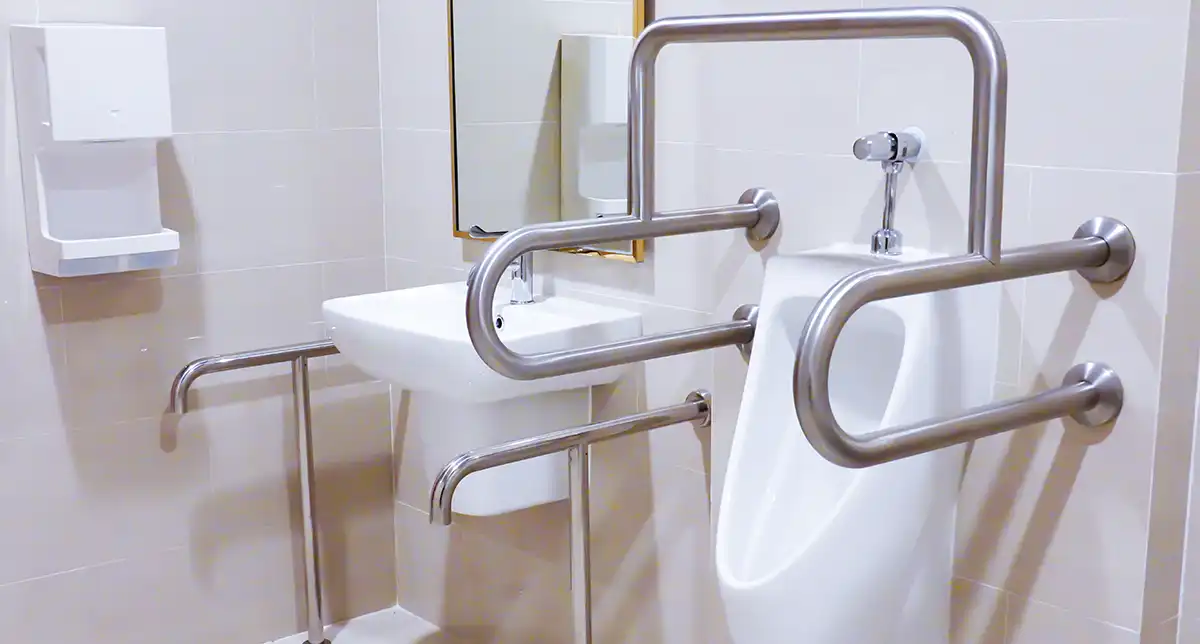
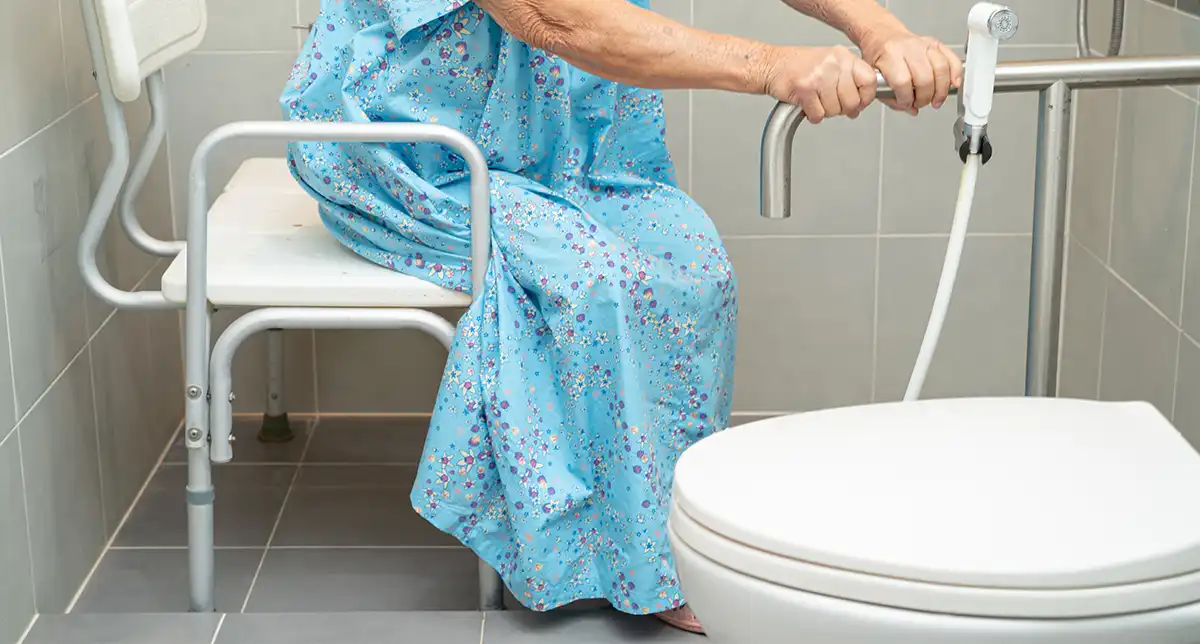
Safety should be a top priority when renovating an existing bathroom. Incorporate features like ada compliant bathroom grab bars, slip-resistant flooring and adequate lighting to reduce the risk of falls and accidents. Additionally, ensure that any changes or modifications comply with local building codes and regulations.
7. Future-Proofing
While renovating for ADA compliance bathroom plans, it’s also worth considering future-proofing your bathroom. Incorporate design elements that can easily be adapted or modified as your needs change over time.
For example, installing reinforced walls for future grab bar installations or choosing fixtures that can be adjusted in height or position.
Renovating an existing bathroom to meet ADA standards can be a complex undertaking, but with careful planning, creative solutions, and the right professionals, you can create an accessible and functional space that meets the needs of everyone in your household or facility.
Additional Resources
1. ADA Guidelines and Standards
Refer to the official ADA guidelines and standards for the most up-to-date requirements and specifications.
2. Local Building Codes and Regulations
Check with the local building department to ensure the bathroom design complies with all relevant codes and regulations.
3. Accessibility Consultants and Experts
Consider consulting with professionals who specialize in accessible design and ADA compliance for expert guidance and ecommendations.

![ADA Requirements for Bathrooms [Informative Infographic]](https://www.aorbis.com/wp-content/uploads/2025/01/ADA-Requirements-for-Bathrooms.jpg)